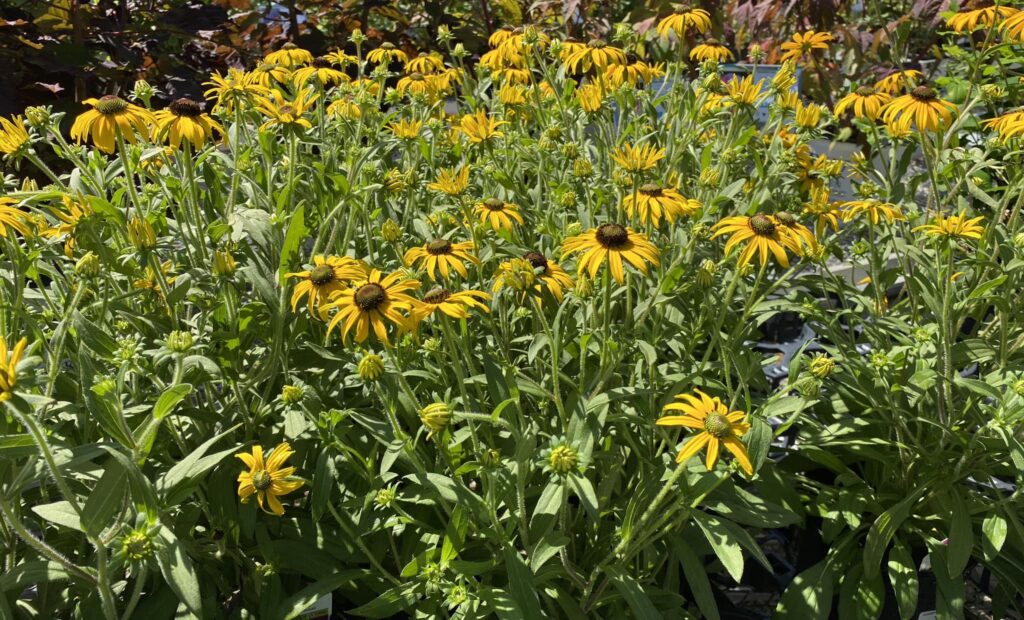
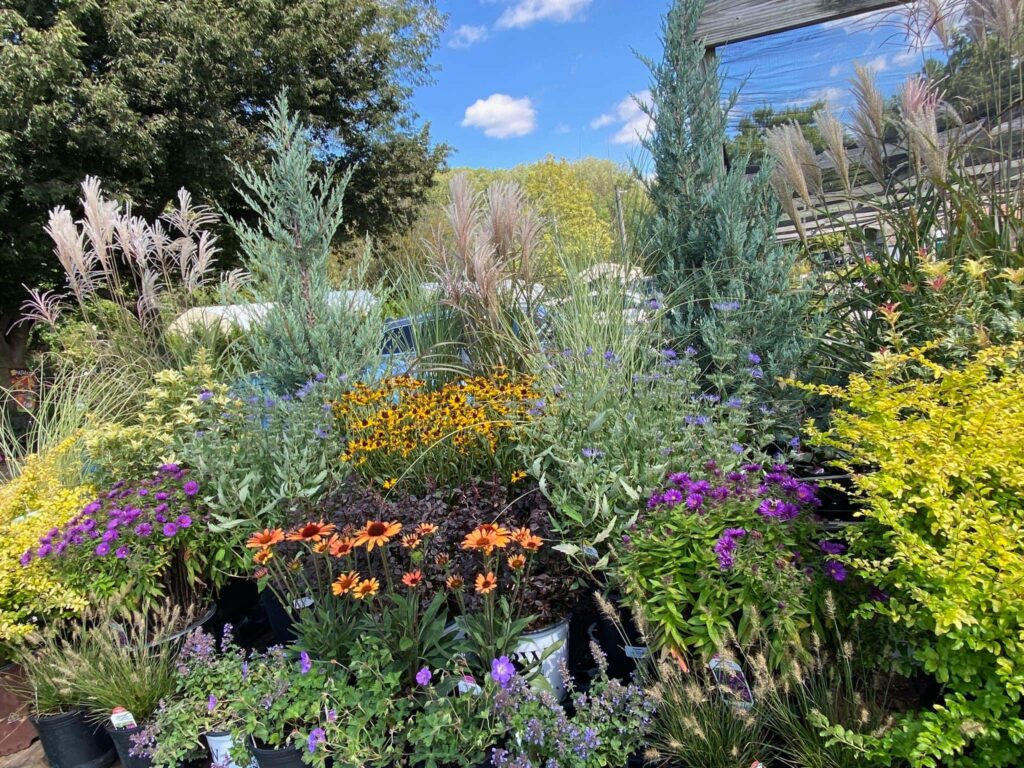
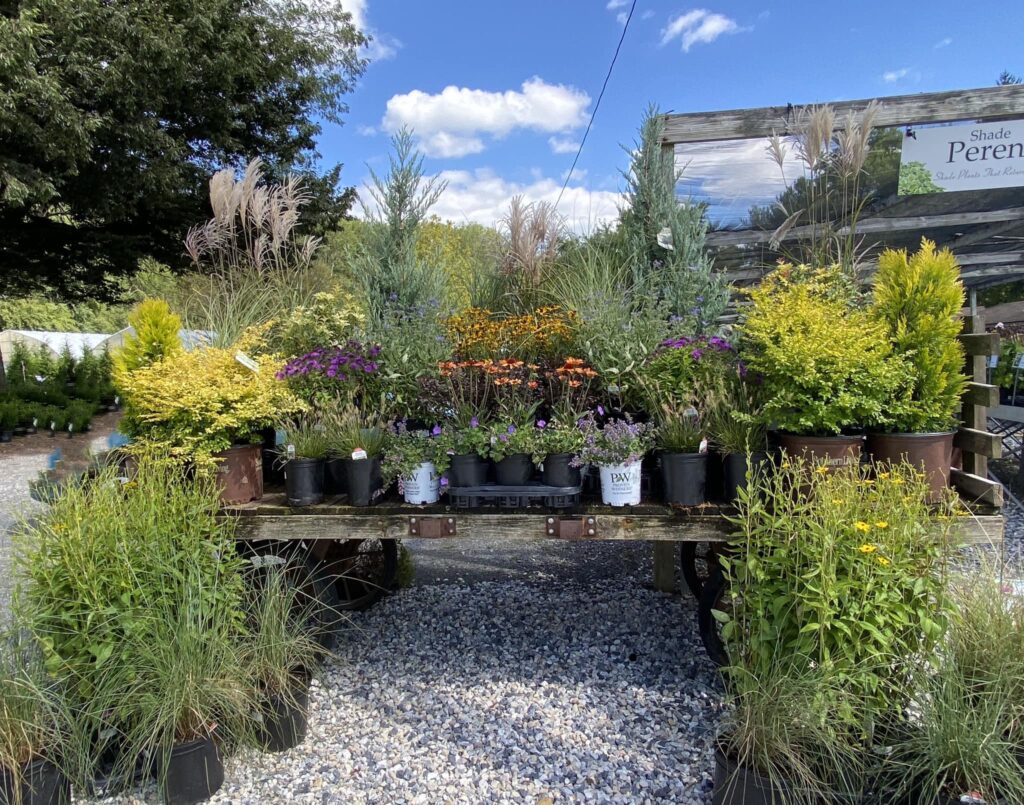
This week’s wagon offerings, all with a very Fall feel: Cats Pajamas Catmint, Rozanne Geranium, Echinacea Prima Tiger, a purple variety of Barberry, Dark Knight Caryopteris, Sunshine Privet, Goshiki Osmanthus, Witchita Blue Juniper, Purple Dome Aster, Little Gold Star Black-Eyed Susan, Coreopsis Summer Sunshine. The grasses are Pink Muhly, Morning Light, Oktoberfest, Scout, and Little Bunny. Did we mention now is a great time to plant?
Ho Hum, the Summer is drawing to a close and Fall is a great time to refresh your perennial garden. Some of our select perennials are just a little tired and in need of a new home where they will have space and adequate rest and relaxation to root in. All perennials marked with a green X are 40% off. Varieties/colors are limited but here are just a few that are currently on sale: Gaillardia, Echinacea , Veronica, Switchgrass, Campanula, Hosta, Daylilly, Serbian Bellflower, Heuchera, and Sedum. Come on in, you are sure to find something to add to your garden!
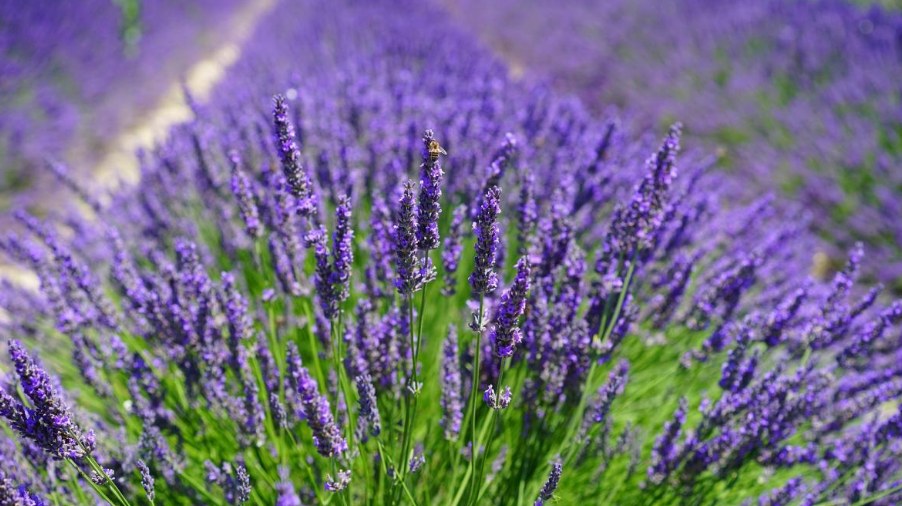
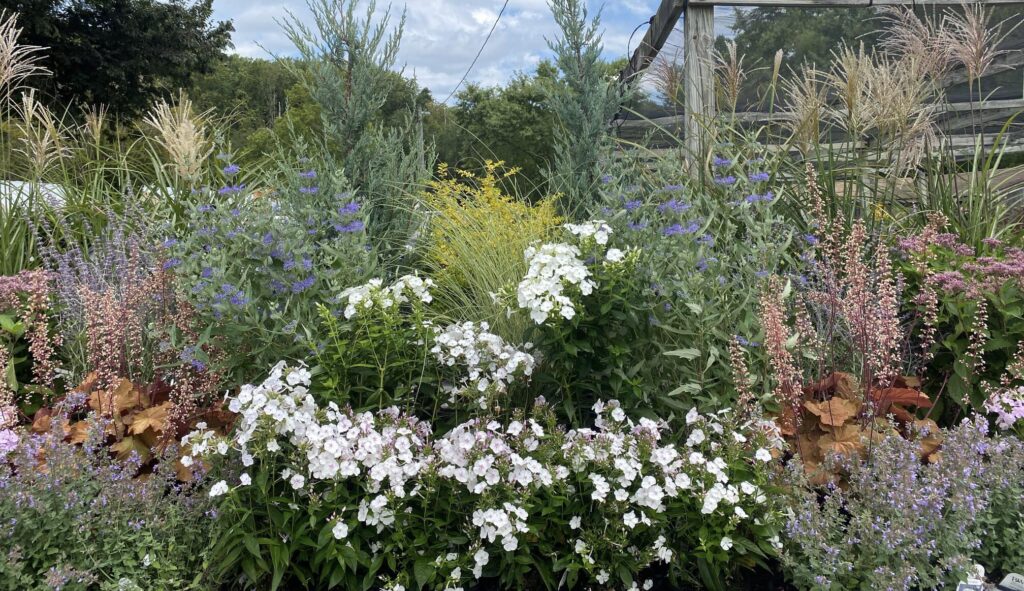
On our wagon this week is a lovely variety of perennials including White Phlox varieties Early Crystal, Party Girl and Amethyst Pearl. Other plants on the wagon are Sombrero Poco White Echinacea , Nepeta Cats Meow, Veronica Purple Illusion, Coral Bells Mega Caramel, Little Spire Russian Sage, Ruby Joe Eupatorium, Miscanthus Oktoberfest and Morning Light, Wichita Juniper, Sunshine Privet, and Caryopteris Dark Knight. Fall is a great time to spruce up your garden and add some stunning perennials.
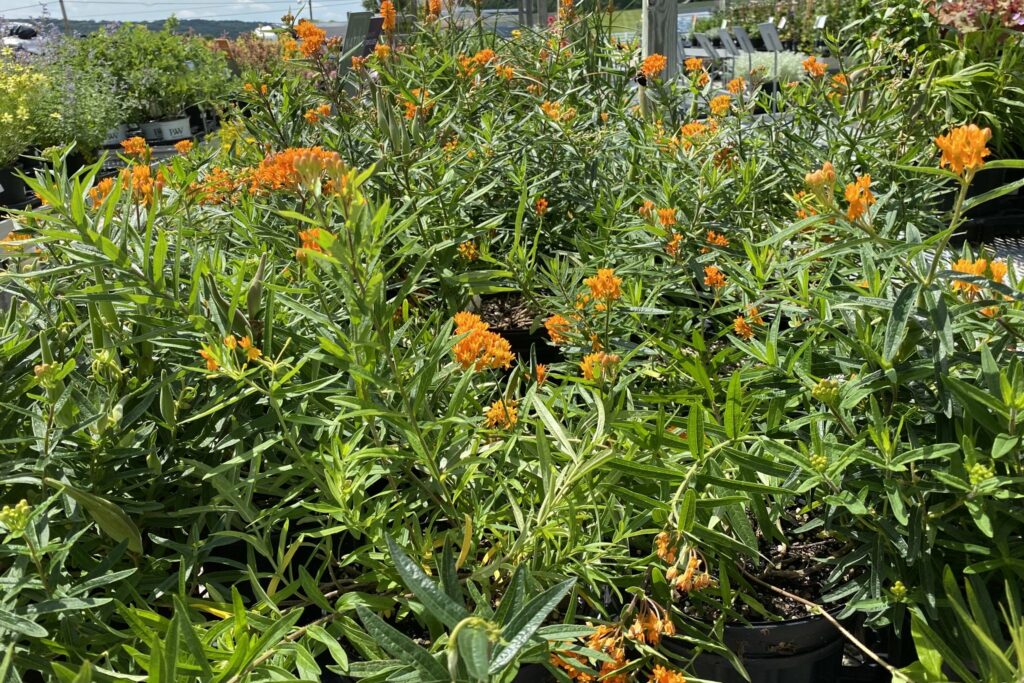
Butterfly Weed, aka – Asclepius tuberosa, a must have in your pollinator garden. This perennial will bloom all summer with colorful orange flowers. A great food source for the Monarchs. Drought tolerant, full sun, and makes a great cut or dried flower. Stunning in a mass planting! Available now in the nursery.
Big, bold, bodacious Hardy Hibiscus! A breath-taking herbaceous perennial boasting 6 to 8 inch flowers that hummingbirds and butterflies love. This Hibiscus has a bloom time that extends well into September. Striking foliage. Full sun for this beauty! Available in perennials.
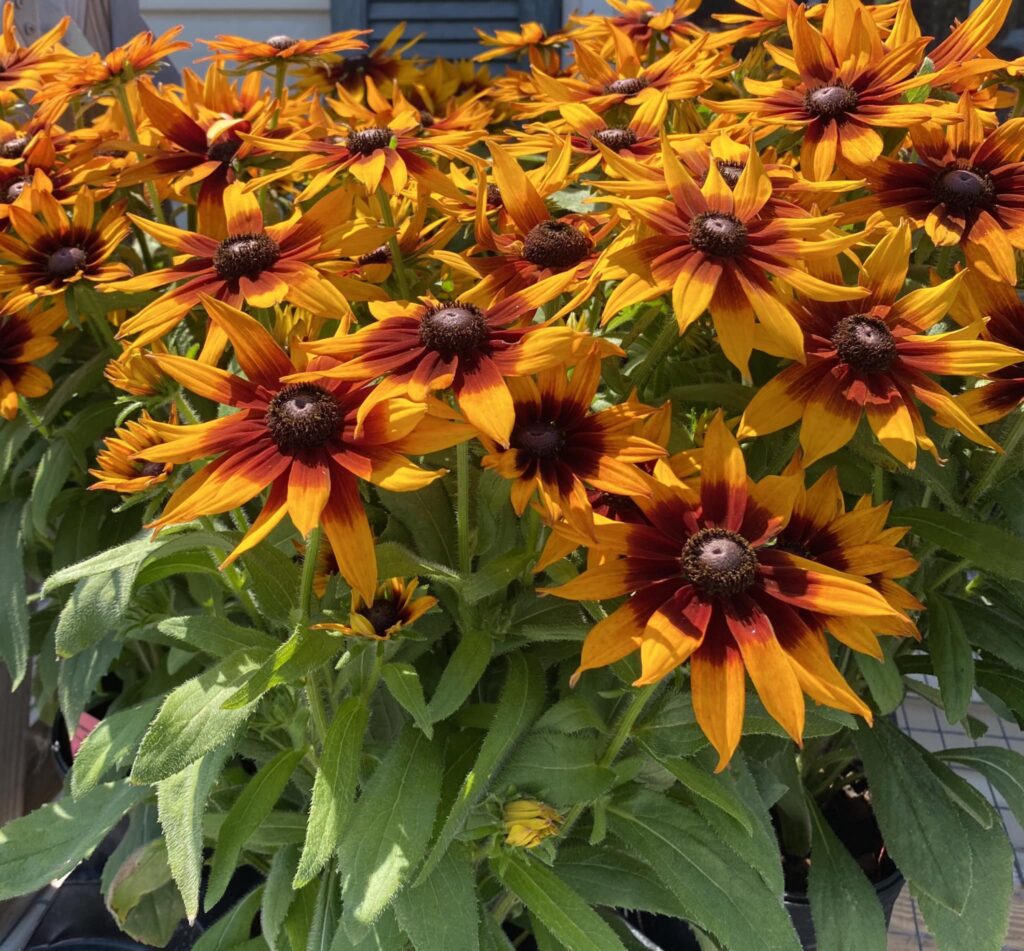
Are you a fan of Echinacea and Rudbeckia? Now you can have the best of both plants with the stunning Echibeckia Summerina® Sunreef™. This colorful plant boasts longer lasting flowers and it blooms from summer through fall with extra large flowers that feature a dazzling two-toned array of oranges and red! Full to partial sun and it attracts pollinators. 
 Available now in annuals.
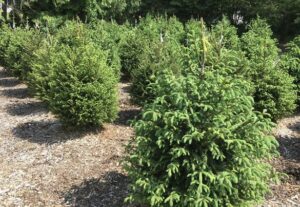
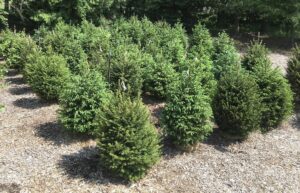
We have hard to find Norway Spruce. A rugged, hardy, and deer resistant solution for privacy screens, borders, and wind breaks. And we can plant them for you! Ask about delivery and installs.
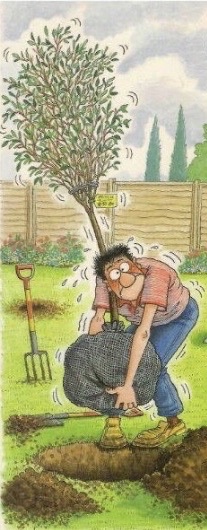
Don’t be this poor fellow! Did you know when you buy nursery stock (trees & shrubs) we also offer delivery and planting? Our landscapers are some of the best and will make sure your purchase is planted so it will grow and flourish for years to come. Ask about our delivery and planting services the next time you buy something from the nursery. Save your back and the blood, sweat and tears too!